
How to Match Faded Paint Without Repainting the Entire RV
Why Is Matching Faded RV Paint So Challenging?
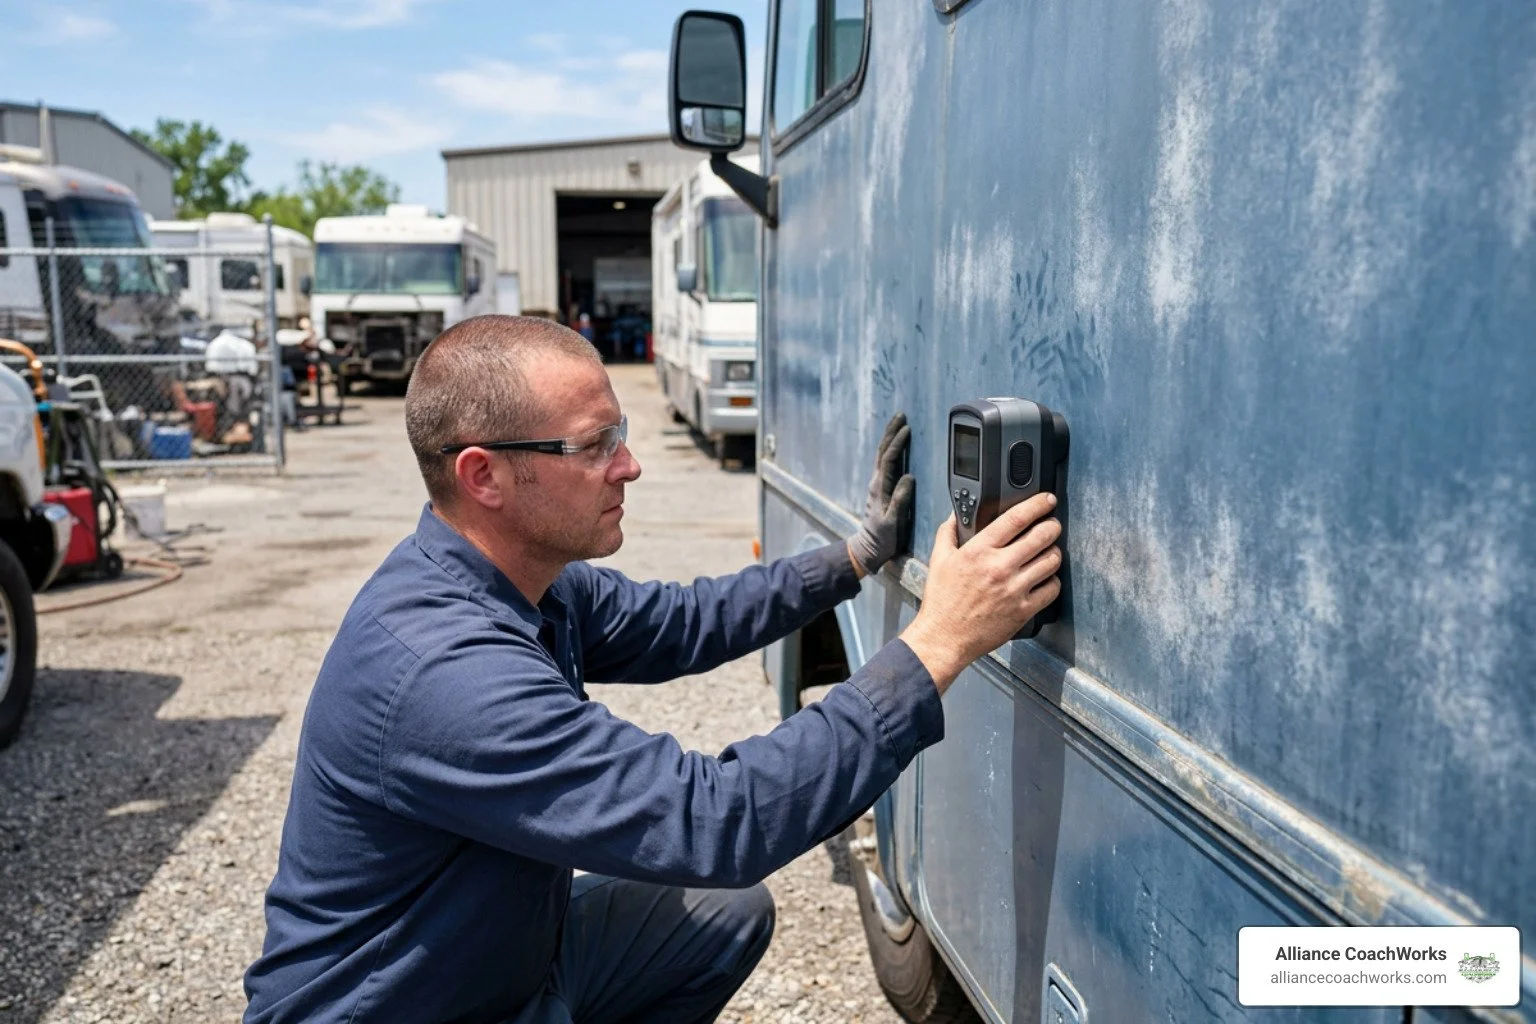
Matching exterior paint on a motorhome or travel trailer is fundamentally different from touching up a passenger car. RVs spend months—often years—parked outdoors under punishing sun, heat cycles, rain, and road debris. Over time, intense ultraviolet (UV) radiation breaks down the chemical bonds in automotive pigments and clear coats. This degradation causes colors to fade, yellow, or drift in tone unevenly across different sides of the vehicle.
When body damage occurs—whether from a scraped tree branch, a blown tire, or a collision repair—simply ordering the original factory paint formula will almost always result in an obvious, mismatched patch. The factory code represents the color when the coach rolled off the assembly line, not the color sitting in your driveway today.
Clear coat oxidation further complicates matching. As the clear coat oxidizes and loses gloss, it scatters ambient light differently than a brand-new, high-gloss surface. A fresh application of original-spec paint looks noticeably darker, richer, and more saturated against chalky, weathered surrounding panels.
At our specialized collision facility, we use digital spectrophotometers and computerized blending techniques to formulate paint that matches the exact present-day shade of your coach. By analyzing the current pigment condition and feathering the new finish into adjacent panels, we eliminate the need to repaint the entire RV—saving thousands of dollars while restoring a uniform, factory-quality appearance.
Why Are Factory Paint Codes Rarely Enough for Older RVs?
RVs present unique manufacturing complexities that make factory paint codes unreliable over time:
1. Split Manufacturing (Chassis vs. Coach): Class A, Class B, and Class C motorhomes are built on commercial chassis (such as Ford, Freightliner, or Chevy), but the living quarters are constructed by separate coachbuilders (like Winnebago, Forest River, or Tiffin). The chassis cab may use OEM automotive polyurethane paint, while the coach body uses custom multi-tone schemes or molded gelcoat. The chassis paint code inside the driver's door jamb rarely applies to the side walls or rear cap.
2. Uneven Solar Exposure: RVs rarely receive equal sun exposure on all sides. The side facing south during outdoor storage experiences significantly faster pigment breakdown than the side facing north or shaded under an awning.
3. Clear Coat Thinning and Chalking: As UV rays degrade the microscopic surface layers of the clear coat, surface friction increases, dirt embeds into pores, and the basecoat underneath appears lighter or milky.
Industry data shows that 60% of RV owners who attempt DIY paint-code touch-ups regret skipping professional paint formulation. What looked like an exact match on a paint swatch turns into an unsightly dark or discolored square once dry.
Factory codes provide a valuable starting baseline, but achieving an invisible spot repair requires real-time formulation adjustments. Many paint professionals rely on advanced custom automotive paint mixing services to tweak base tinting pigments, alter toner ratios, and replicate weathered hues.
How Gelcoat Differs from Multi-Stage Automotive Paint
Understanding your RV's exterior substrate is essential for accurate color matching:
● Gelcoat (Molded Fiberglass): Most towables, travel trailers, and mid-range fifth wheels utilize a polyester-based gelcoat over fiberglass. Gelcoat is thick, porous, and prone to chalky oxidation. When repairing gelcoat, technicians must account for its deep optical absorption and tendency to yellow over time.
● Full-Body Multi-Stage Paint (Basecoat/Clearcoat): Premium fifth wheels and Class A/Class C motorhomes feature multi-stage automotive urethane paint topped with high-solids clear coats. These finishes feature complex metallic flakes, pearl coats, and multi-color graphics.
Because metal cutaway cabs, aluminum side panels, and molded fiberglass end caps expand, contract, and absorb heat differently, their coatings fade at distinct rates. Professional color matching evaluates each substrate individually before formulating paint.
How Do Professional Body Shops Achieve a Flawless Color Match?
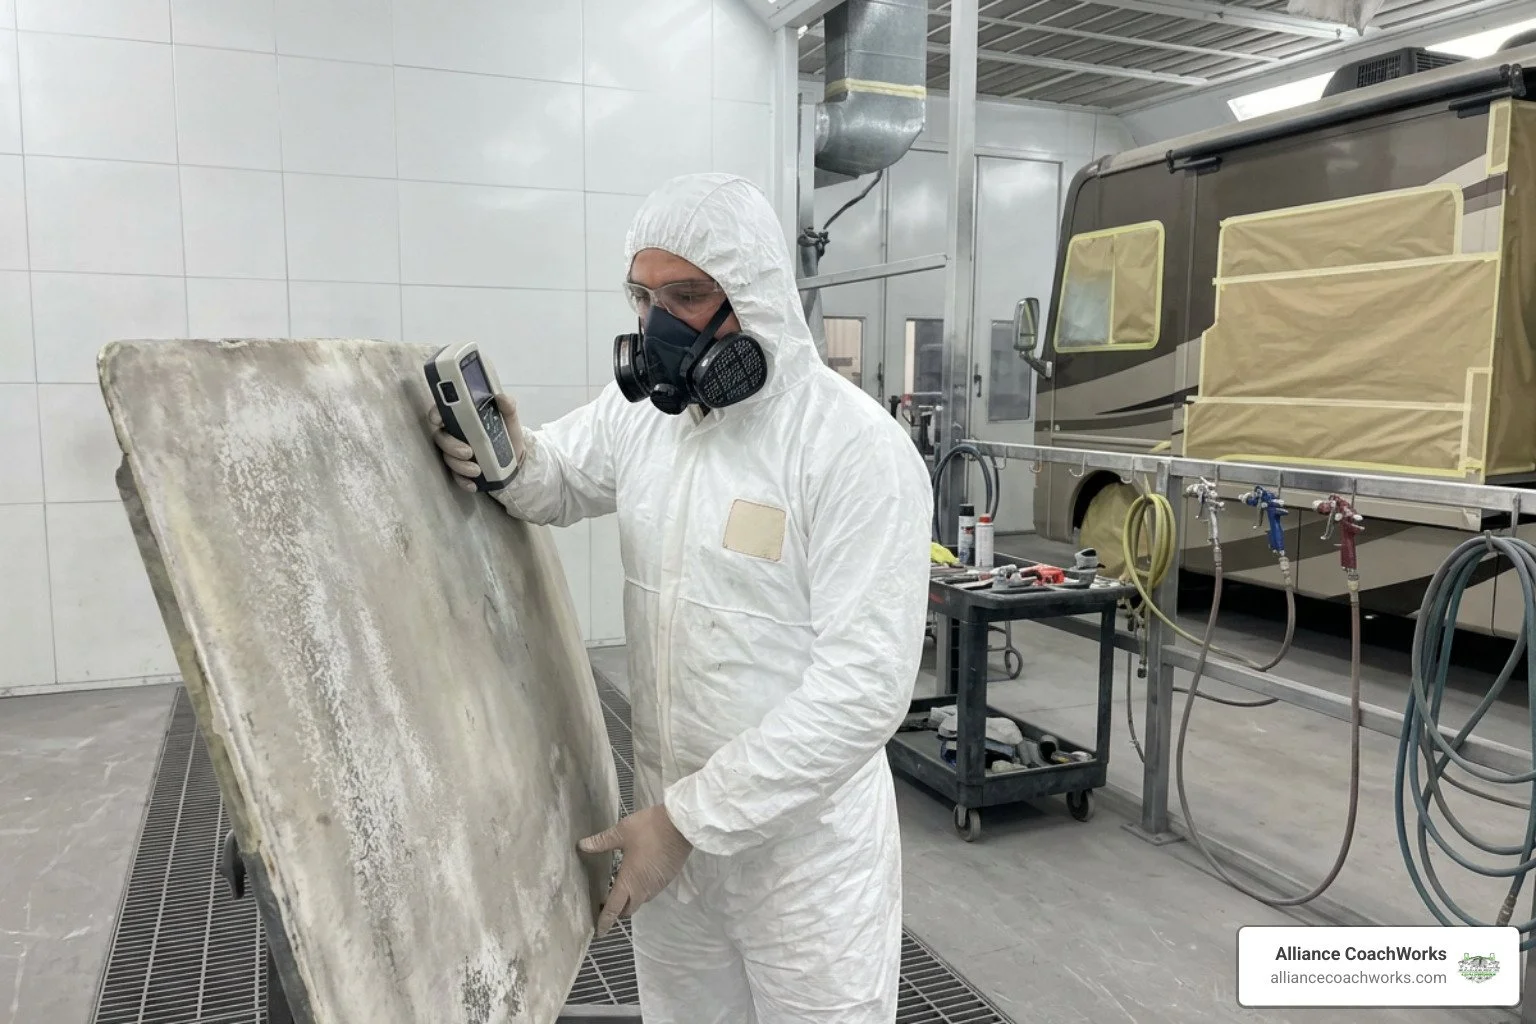
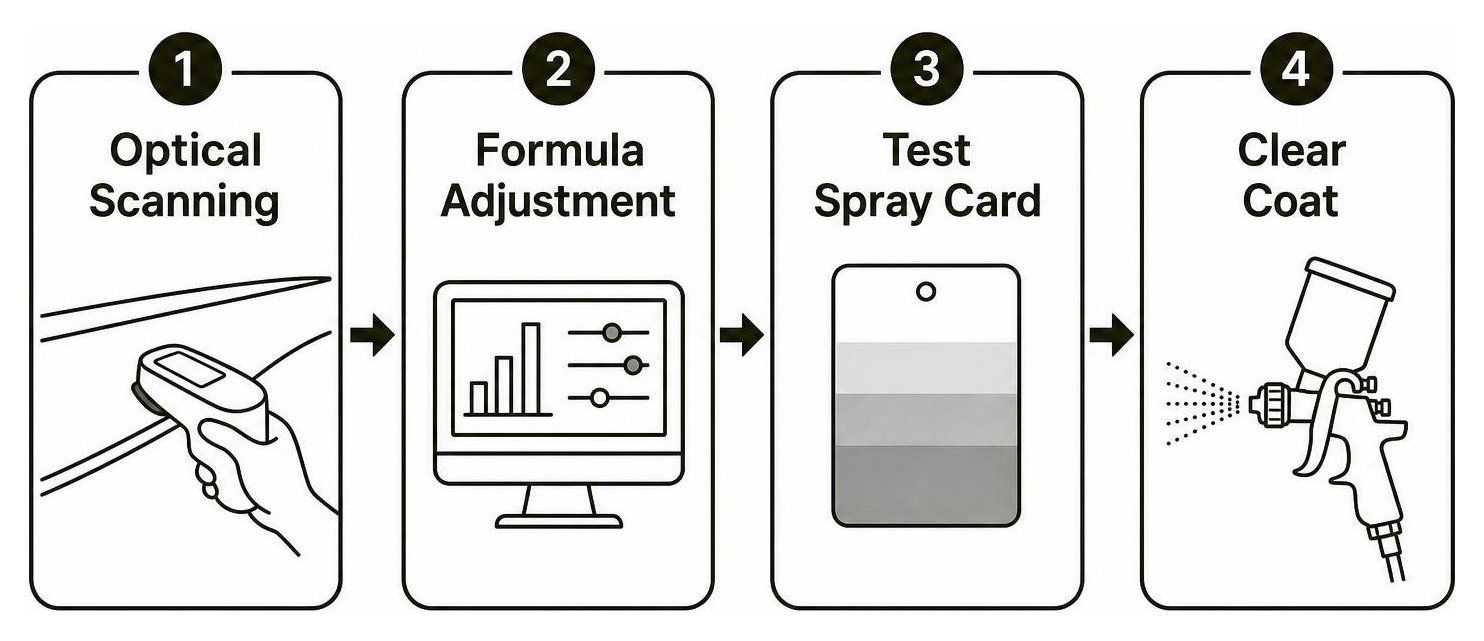
Achieving a seamless paint match on an aged motorhome requires calibrated optical technology, precise chemical formulation, and controlled spray application in a dedicated down-draft paint booth.
1. Optical Color Analysis with a Spectrophotometer
Technicians begin by deep-cleaning and lightly compounding a test section of the coach adjacent to the damaged area to remove surface chalking and road film. A multi-angle spectrophotometer (a digital color-measuring camera) is placed directly against the surface. The device shines calibrated light at multiple angles (typically 15°, 25°, 45°, 75°, and 110°) to measure:
● Base pigment hue, saturation, and lightness (CIELAB color space values)
● Metallic flake size, density, and orientation
● Pearlescent mica interference and sparkle levels
2. Digital Formulation and Micro-Tinting
The spectrophotometer transmits optical data to specialized mixing software that compares the reading against tens of thousands of database formulas. The software calculates a custom paint recipe, modifying standard toners (adding white, yellow, umber, or blue tints) to recreate the specific level of fade.
3. Spray-Out Test Cards
Before spraying the RV, the painter mixes a test batch and sprays a metal or composite "spray-out card." Once dried and clear-coated, the card is evaluated directly against the RV under specialized D65 daylight-balanced lamps as well as natural outdoor sunlight. This eliminates metamerism—a condition where paint looks identical under indoor fluorescent lighting but clashes outdoors in direct sun.
4. Clear Coat Application and Sheen Adjustment
The clear coat is vital for both long-term UV protection and visual integration. If an older RV has slight surface oxidation, applying a high-gloss 95-sheen clear coat creates an unnatural contrast. Technicians can adjust clear coat chemistry, gloss levels, and post-cure buffing techniques to match the surrounding finish.
At our specialized facility in Fort Worth, TX, our technicians perform precision RV paint color matching inside dedicated, climate-controlled commercial paint booths designed specifically for large motorhomes and trailers.
Blending Techniques Along Architectural Body Lines
Even with a 98% spectro match, a hard paint edge on a flat panel will often catch the eye. Professional painters use color blending:
● Feathering: The basecoat color is applied at full opacity directly over the repaired area, then progressively "flicked" or misted outward with decreasing pressure into the undamaged original paint.
● Architectural Breaks: Paint transitions are intentionally planned around natural body breaks—such as aluminum beltlines, slide-out seams, storage hatch framing, rub rails, or vinyl graphic pin-striping.
● Full-Panel Clear Coating: While the color basecoat is feathered within a small area, the entire section or panel receives a continuous coat of clear to prevent peeling edges.
Adopting a structured, multi-stage blending process improves customer cosmetic repair satisfaction by 40% compared to simple spot patches.
What Steps Can RV Owners Take to Facilitate an Accurate Color Match?
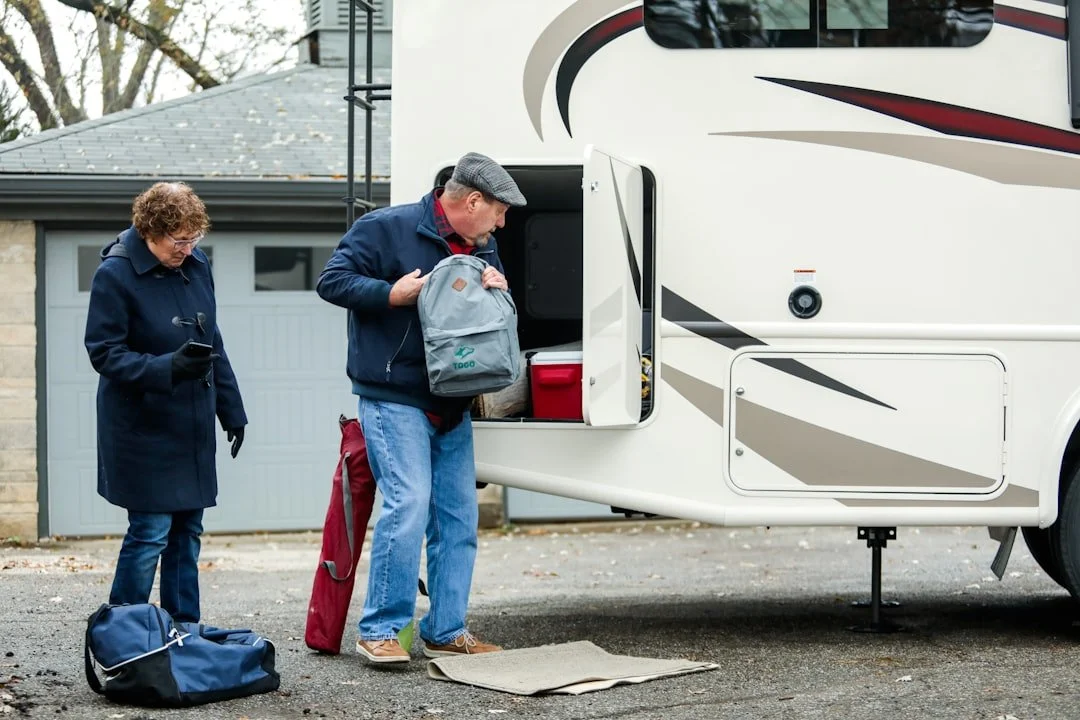
If you plan to bring a sample panel into an RV collision facility for scanning or consultation, following a few practical steps ensures the technician gets an accurate reading:
4. Select a Removable Panel Near the Damage: Choose an exterior component that shares the same color and sun exposure as the damaged zone. Great candidates include water heater exterior access doors, refrigerator vent panels, fuel fill doors, and battery compartment covers or small baggage doors.
5. Wash and Decontaminate the Panel: Clean off road tar, bug splatter, tree sap, and surface wax using automotive soap and water. Do not apply heavy silicone-based waxes or tire dressings, as these distort optical scanner readings.
6. Avoid Heavily Chalked or Non-Painted Plastics: Ensure the sample is an actual painted fiberglass or aluminum component, not an unpainted molded plastic hatch that has faded to a completely different shade.
7. Schedule an In-Shop Evaluation for Large Repairs: When dealing with delamination, cracked fiberglass, roof gouges, or structural frame impacts, bring the entire coach into our facility for comprehensive RV repair.
Reputable collision centers require performing their own final surface preparation, sanding, and epoxy priming in-shop. Paint manufacturers will not warrant adhesion, rust resistance, or gloss retention if paint is sprayed over unverified DIY primer.
Step-by-Step Guide for Preparing a Paint Sample
● Step 1: Locate a painted access hatch located on the same side as the damaged area.
● Step 2: Carefully remove hinge pins or mounting screws using hand tools to avoid stripping the fiberglass framing.
● Step 3: Wash the panel with pH-neutral automotive wash; do not use abrasive household cleansers.
● Step 4: Wrap the panel in a soft microfiber towel to prevent scratching during transport.
● Step 5: Deliver the panel directly to the body shop technician for digital scanning.
What Are the Typical Costs and Timelines for RV Paint Repairs?
Investing in professional paint restoration pays measurable dividends. According to industry valuation data:
● Well-maintained RVs retain 20% higher resale value over a 5-to-10-year period.
● Full-body professional repaints increase resale market value by 15% to 20%.
● Promptly sealing paint damage and cracks cuts long-term repair costs by 30%, preventing moisture intrusion that leads to $2,000 to $5,000 in structural delamination and wood-rot repairs.
Professional RV paint repairs generally range from $500 to $15,000 depending on the scope:
● Localized Spot Blending & Scratch Repair: $500 – $2,500 (1 to 3 days)
● Single Panel / Slide-Out Repaint & Blend: $2,500 – $6,000 (3 to 5 days)
● Complete Class A / Super C Full-Body Repaint: $8,000 – $15,000+ (1 to 3 weeks)
These refinishing services are equally vital for maintaining commercial assets through our dedicated fleet services, ensuring corporate haulers, buses, and transport vehicles maintain a pristine brand appearance.
Repair Option Comparison
Repair Method
Average Cost
Durability
Color Accuracy
Turnaround
Best Suited For
DIY Touch-Up Pen / Aerosol
$20 – $100
1–2 Years
Low (visible patchiness)
1–2 Hours
Micro stone chips (under 1/8")
Professional Spot Blend
$500 – $2,500
5–10 Years
Flawless (spectro matched)
2–4 Days
Scrapes, branch scratches, localized collision repairs
Full Section / Panel Repaint
$2,500 – $6,000
10+ Years
Exact OEM / blended match
4–7 Days
Major fiberglass collision damage, severe clear coat peeling
Complete Coach Repaint
$8,000 – $15,000+
10–15+ Years
Complete brand-new finish
2–3 Weeks
Aged full-body restorations, severe total-body clear failure
Frequently Asked Questions About RV Paint Matching
How long does a professional RV paint color match and spot repair take?
A standard spot repair or single-panel blend typically takes 2 to 5 business days. This timeline includes:
● Surface decontamination and computerized optical scanning
● Test card mixing, spraying, and daylight verification
● Substrate prep, fiberglass repair, and primer curing
● Basecoat blending and high-solids clear coat spraying in a heated booth
● Controlled baking, clear coat curing, de-nibbing, and final machine polishing
Can I match my faded RV paint using off-the-shelf spray cans?
Off-the-shelf aerosol cans purchased online or at big-box retailers are mixed strictly to factory-original OEM formulas without accounting for UV degradation. Additionally, aerosol paint has low solid-to-solvent ratios, lacks professional isocyanate hardeners, and applies inconsistent clear coat gloss. On an aged fiberglass or aluminum RV panel, aerosol paint leaves noticeable halo rings, dull patches, and rapid fading within 12 to 18 months.
Will a body shop paint over customer-applied primer or prep work?
Reputable professional body shops will not spray topcoats over customer-applied primer if they provide a repair warranty. Unverified DIY primers can react negatively with commercial urethane basecoats, causing wrinkling, solvent trapping, pinholing, or catastrophic clear coat delamination. To guarantee flawless adhesion and longevity, our technicians perform all sanding, feather-edging, and epoxy priming in-house.
What Is the Best Way to Restore Your RV's Paint Finish?
Restoring faded, scratched, or collision-damaged RV paint does not require spending tens of thousands of dollars on a complete exterior overhaul. By leveraging digital spectrophotometer color analysis, expert micro-tinting, and multi-stage panel blending, professional body shops can repair isolated sections so cleanly that even seasoned RV inspectors cannot spot the repair.
Protecting your motorhome's exterior preserves resale value, prevents costly structural moisture intrusion, and keeps your rig looking proud on the open road.
Whether you need fiberglass reconstruction, localized paint blending, or full collision and cosmetic services, Alliance CoachWorks provides specialized in-shop expertise in our dedicated commercial bays in Fort Worth, TX. We serve motorhome and commercial vehicle owners throughout the region—including Justin, Haslet, Keller, Southlake, Trophy Club, Grapevine, and Northlake.
Contact the team today or bring your RV panel directly to our facility for an in-person assessment and transparent repair quote.